





You do not need a fancy camera to bring home great travel photos. In fact, 93% of tourists now use their smartphone as their main travel camera (source). What separates a forgettable holiday snap from a photo you actually want to print is not gear. It is a handful of habits you can pick up in an afternoon.
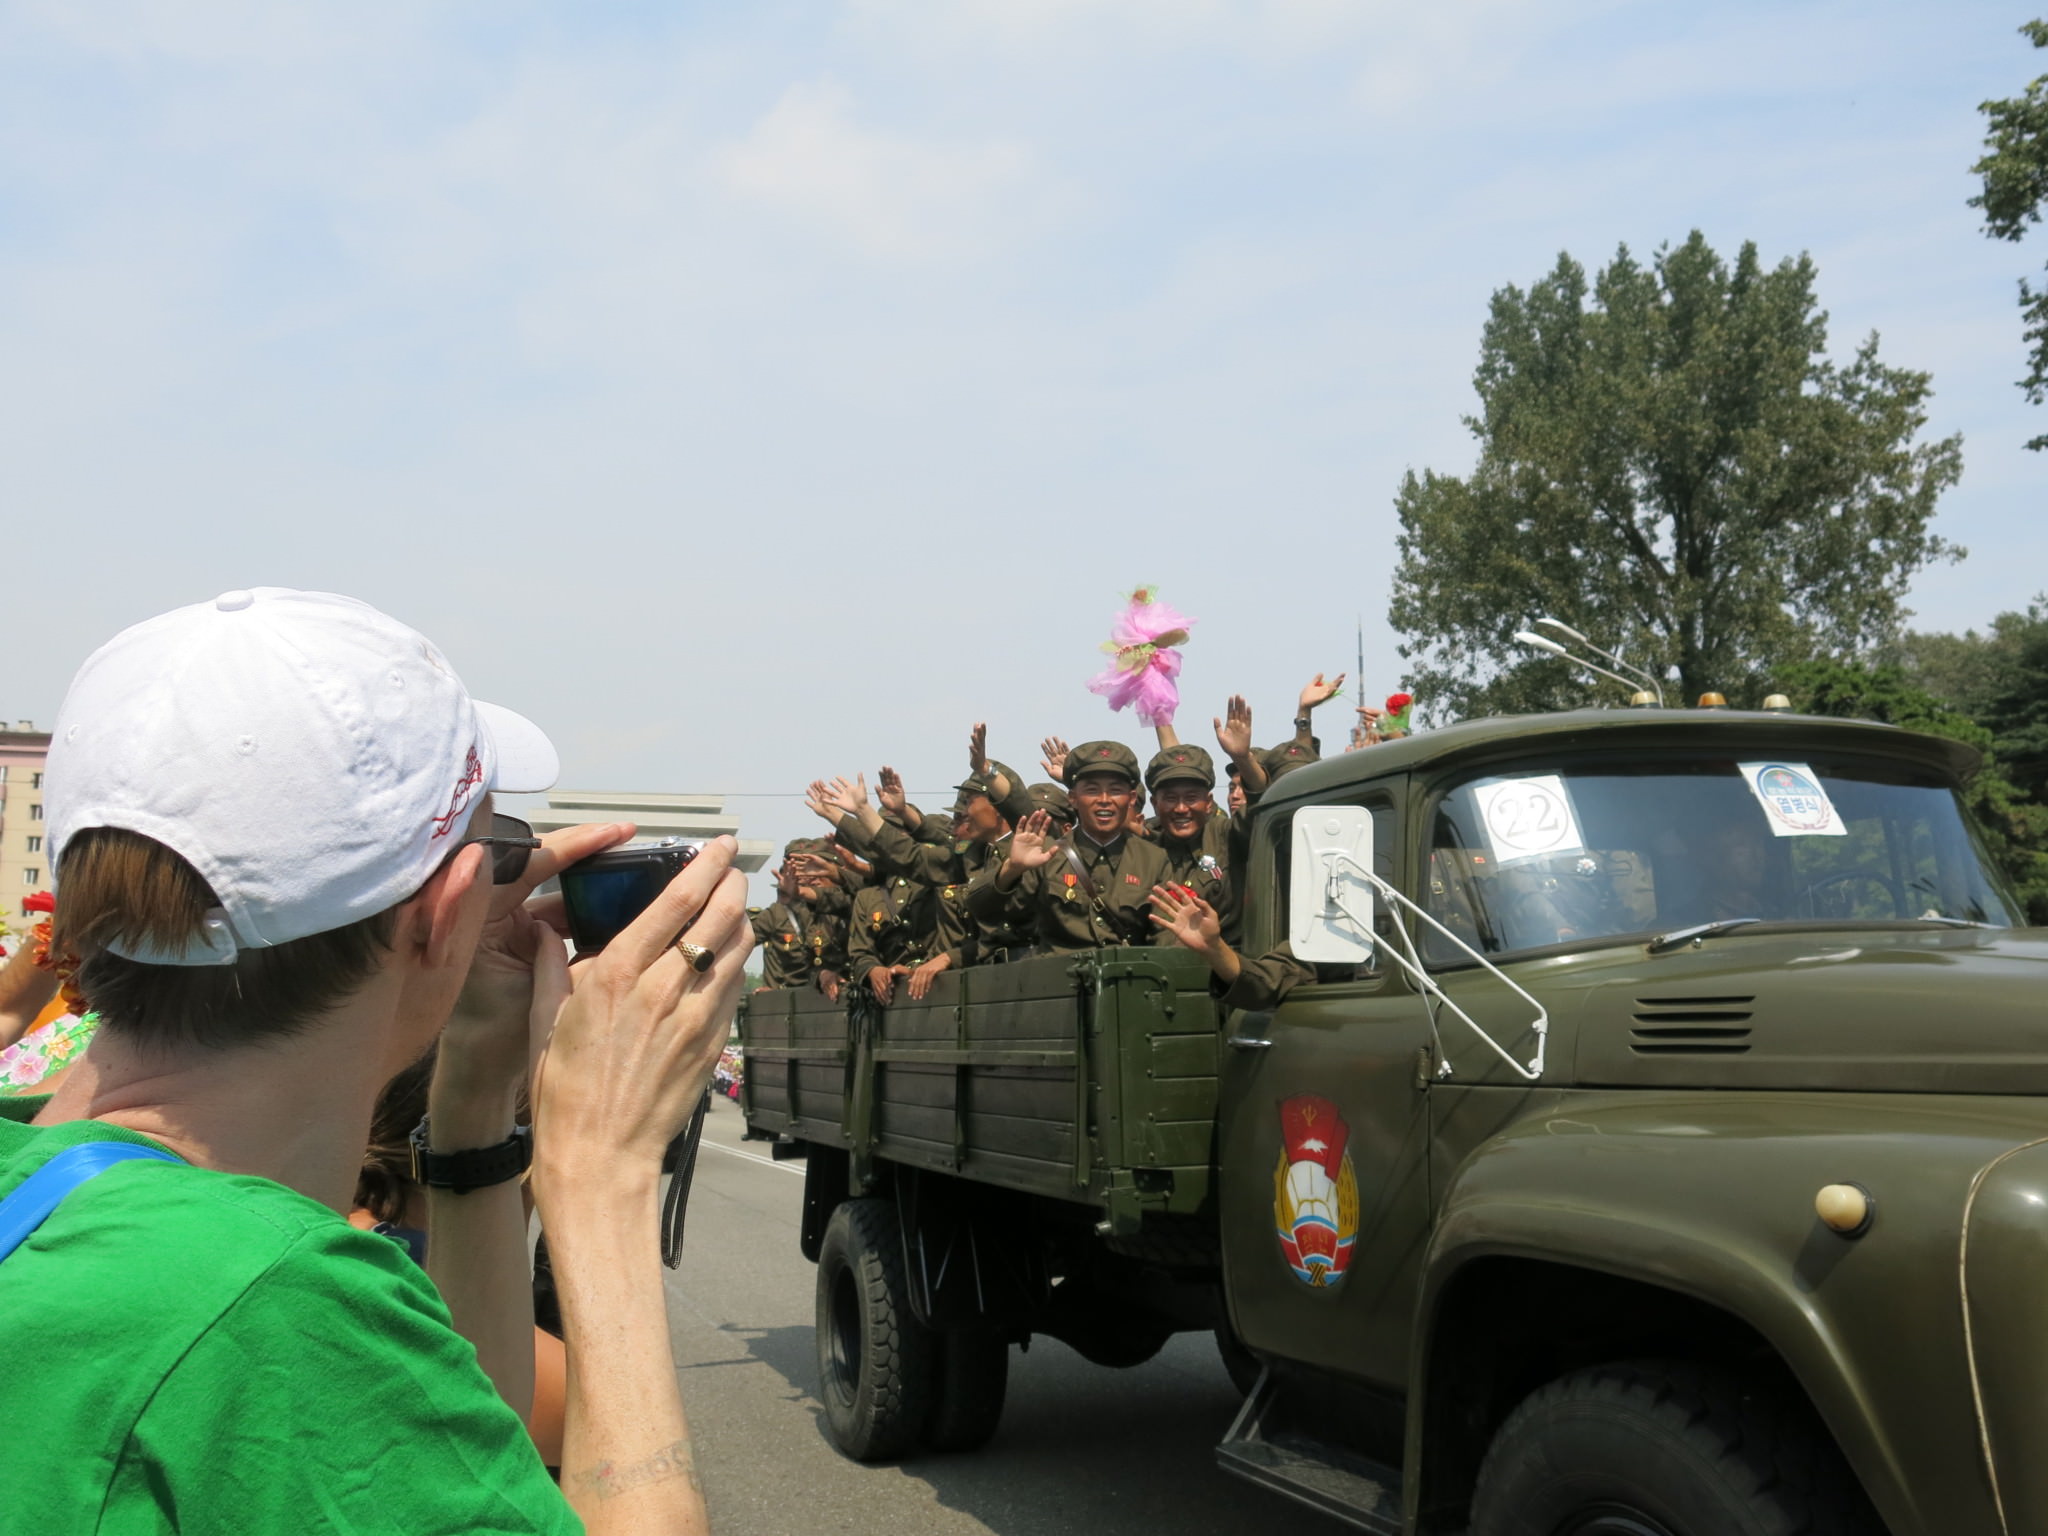
Taking photos of the parade is expected, get snap happy!
You can start using them today, with the phone already in your pocket.
Key Takeaways
- Great travel photos come from light, timing, and composition, not from expensive gear.
- Shoot at golden hour, get closer to your subject, and include people for scale.
- Take fewer photos with intention instead of 500 rapid-fire snaps you never look at again.
- Edit before you post to sharpen what your camera missed.
Why Most Beginner Travel Photos Miss the Mark
Most people take vacation photos the same way. Point the phone. Tap the shutter. Move on. The result is a camera roll full of tilted horizons, blown-out skies, and photos where the actual subject is a tiny dot in the middle of the frame.
The fix is not a better camera. It is slowing down for three extra seconds before you tap the shutter. Ask two quick questions. Where is the light coming from? What is the one thing this photo is about? Those two habits alone will lift your travel photography more than any lens upgrade.
8 Travel Photography Tips for Beginners That Actually Work
Use these on your next trip. Every single one works on a phone.
1. Shoot at Golden Hour and Blue Hour
The hour after sunrise and the hour before sunset give you the softest, most flattering light of the day. Skies glow. Shadows stretch. Skin tones look natural. Midday sun does the opposite. It flattens colors, creates harsh shadows, and washes out detail.
Plan one shoot around each. When Jonny watched sunset over the rice fields on Don Det in Laos, the light did all the heavy lifting. You do not need to be a pro to catch that hour, but you do need to be outside when it happens.
2. Get Closer Instead of Zooming
Phone zoom drops your photo quality fast. Every step you take toward your subject keeps the image sharp and gives it more energy.
The old street photographer’s rule still holds. If your photo is not interesting enough, you are not close enough. Try it on your next street market shot and compare.
3. Use the Rule of Thirds
Turn on the grid in your camera settings. It splits your screen into nine equal squares. Place your subject on one of the four points where the lines cross instead of dead center. Your photo will instantly feel more balanced and less like a passport picture.
It sounds too simple to matter. It is not. This is the single fastest way to make your travel photos look intentional.
4. Include a Person for Scale
Landscapes look bigger when there is a human in them. A tiny figure against a mountain says “this is huge” better than any wide shot ever could.
You do not need a model. A friend walking down a temple path. A stranger in a red jacket crossing a bridge. Even the back of your own head works. Scale gives your travel photos emotion, not just documentation.
5. Photograph the Details, Not Just the Landmarks
The Eiffel Tower has been shot a billion times. Your version of it is not going to beat those. But the espresso cup on the café table across from it? That is yours. So is the peeling paint on a door in Kaesong, North Korea, or the cracked tiles on a mosque wall in Masar e Sharif, Afghanistan.
Details are where the memory of a trip actually lives. Shoot at least three per location. Hands, food, textures, signs, feet, textiles. Small stuff makes the strongest photo story.
6. Take Fewer, Better Photos
A camera roll with 800 near-identical shots of a market is worse than a camera roll with 30 great ones. You will never sort through the big pile, and the moments blur together.
Try this. Give yourself a limit of 20 photos per day. When you know you only have 20 shots, you slow down and think about each one. That single constraint will improve your travel photography faster than any tutorial.
7. Watch Where the Light Is Coming From
Before you take any photo, notice where the sun is.
- Light behind you means bright, evenly lit subjects. Safe and clear.
- Side light gives you shadows and depth. Great for portraits and architecture.
- Light behind your subject creates silhouettes and dreamy backlit shots. Cool effect, but you have to expose it to the subject, or it turns black.
You do not need to memorize any of this. Just get in the habit of checking the sun before you shoot.
8. Edit Before You Post
Even great phone photos need a small edit. A tiny crop, a slight boost in contrast, a warmer white balance. The difference between a raw phone shot and a lightly edited one is huge.
You do not need paid software. A free photo editor lets you crop, adjust exposure, tweak colors, and export in the right size for Instagram or a blog post, all in a few clicks. Do a quick edit while your memory of the moment is still fresh, so you catch what the camera missed.
Pro Tip
Back up your photos every night on the road. A cloud, a laptop, or a second phone; it does not matter which. Lost phones and stolen bags are the number one way travelers lose their best shots. Ten minutes tonight beats losing a month of memories.
How to Build a Simple Travel Photo Routine
A quick daily routine keeps you consistent and stops the “I forgot to take any good photos” regret at the end of a trip.
- Morning. Shoot golden hour before breakfast. Even one photo counts.
- Midday. Skip the wide landscapes and focus on details, food, and street portraits.
- Evening. Chase sunset and blue hour. Cities look magical in that 20-minute window.
- Night. Back up your photos, pick your five favorites, and give them a quick edit.
Repeat every day and you will end the trip with a real photo story, not just a phone roll.
Final Word
You do not need a bigger camera to take better travel photos. You need to slow down, chase the light, get closer, and shoot fewer frames with more care.
Try one tip from this guide on your next trip. Then another trip after. By your third or fourth trip, the habits become automatic, and your camera roll starts looking a lot less like a random photo dump and a lot more like a story worth sharing.
FAQs
1. Do I need a real camera for travel photography as a beginner?
No. A modern smartphone handles almost every situation you will face on a normal trip. Save the camera upgrade for when you have the habits down and know what your phone actually cannot do. Better travel photos come from your eye first and your gear second.
2. What is the best time of day for travel photos?
Golden hour, which is the hour just after sunrise and the hour just before sunset. Blue hour, the 20 minutes right after the sun sets, is also stunning for cityscapes. Avoid harsh midday sun for anything you want to look great in.
3. How do I take good photos of strangers while traveling?
Ask first. A smile, a nod at your camera, and a thank you afterward go a long way. Some travel photo tips work everywhere, but this one is non-negotiable. Photos of people feel much better when the person actually agreed to be in the shot.
Author Bio
Jonny Blair is an author, blogger and SaaS (Software as a Service) content writer with extensive experience writing for SaaS brands from early-stage startups to established platforms; she specializes in turning complex products into clear, compelling narratives that rank, resonate, and convert.