So to El Salvador, a country you will hear a LOT more about. I had reminders back to my time hiking in Northern Vietnam recently (when we saw some indigo dyeing with the locals on the Sapa 2 day hike), however this was the real deal. El Salvadorians are proud, hard working and friendly people. So here in the town of Chalchuapa I visited an indigo workshop, got a full demonstration in detail and got to keep a souvenir of my visit. This is definitely something I recommend doing! Backpacking in El Salvador needs to be more popular and I plan to help promote it, so here’s an overview of my day visiting an Indigo Workshop and Demonstration at Casa Blanca, Chalchuapa.
How to get to Casa Blanca, Chalchuapa
Getting to Casa Blanca is not as hard as you might think. Speak a bit of Spanish and you can get by so easily in this country. The locals love it, they are friendly, approachable and helpful. Not once have I met a rude Salvadorian when I’ve approached them in the street for help. Time is of no relevance to them – they will help you. And here’s how I got to Chalchuapa.
I was based in Santa Ana for 2 nights at the Hostal Casa Verde (also the best hostel in El Salvador). From the hostel, I walked to the main bus station in town, which is near the Mercado Colon and Parque Colon. The bus terminal is called Terminale Buses Francisco Lara Pineda. However, the actual bus to Chalchuapa doesn’t actually leave from the terminal itself, but it’s a good landmark to get there by. Head through the bus station until you come to the main Avenida San Antonio. On the corner where it meets 18 Avenida Sur, there are a few yellow taxis. It’s like a taxi stand. On the other side of the street and facing away from the town the Bus number 218 will pull up for a few minutes, wait until it’s full and then head off to Chalchuapa.
The bus says number 218 on the front as well as Chalchuapa, and if in doubt just ask the driver or the conductor – they will help. Tell them you are heading to Casa Blanca in Chalchuapa. The bus costs 25 cents and takes around 40 – 45 minutes.
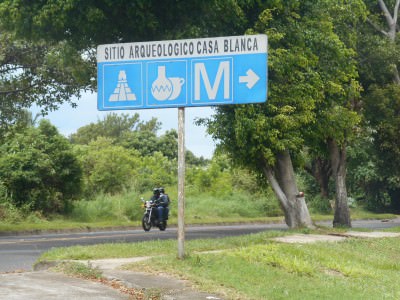
As you reach the town of Chalchuapa, the bus veers to the left at an obvious junction on the carriageway. This is where you want to get off if you are making Casa Blanca your first point of interest in the town (or you can continue and see the town first, as well as Ruinas de Tazumal). So get off on this corner and take the right hand part of the fork/junction. Simply look on the right hand side and you will see a sign and the entrance to Casa Blanca. It’s about 100 metres on the right, maximum. And you’re here!
Arrival at Casa Blanca, Chalchuapa
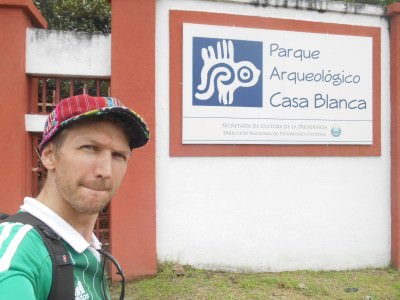
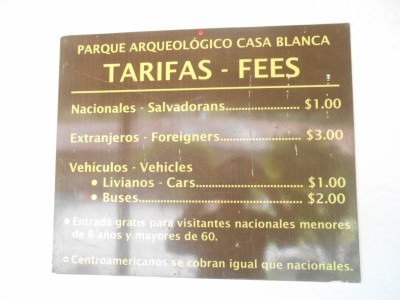
Once you arrive, greet the policemen that man the front entrance, they might not see many foreign tourists (I was the only one that day) but they will know what you are here for. I’ve been surprised by my Spanish in fact, it’s got better in El Salvador just from talking to people. Then at the gate, you meet the lady that works there, pay her $3 US to enter and you’re now inside the Casa Blanca complex. Local people only need to pay $1 US. Don’t question this – I’m happy to pay and you should be too.
Casa Blanca
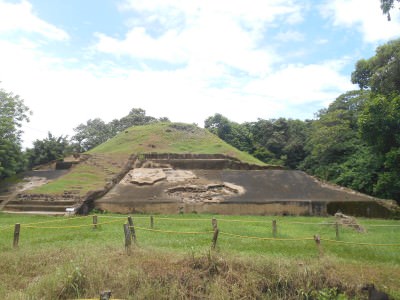
Casa Blanca itself is well worth a look. It’s an ancient archaeological site and also has a museum. For $3 US everything is included and I’ve written about the museum and ruins part separately – touring Casa Blanca.
The Indigo Workshop and Demonstration
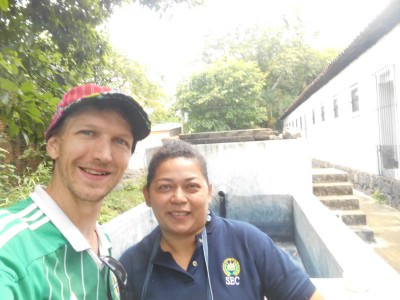
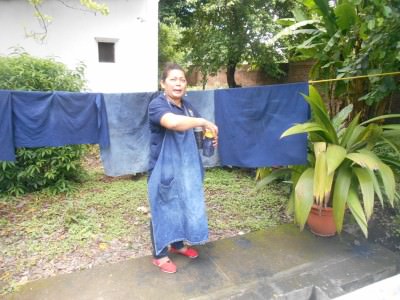
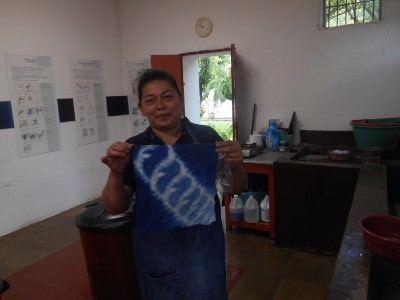
At the back of the main building, on the right hand side you find the Indigo Workshop. I was fascinated by it. The process seems oh so simple when you hear all about it. My guide was Liset Clavel de Morales who works here.
A total expert and lovely person who makes fabrics with designs all from indigo colouring. The $3 US entry includes the full workshop and demonstration as well as the visit to Casa Blanca. Here are the main steps to the tour and demonstration, which hopefully my videos and photos also help depict. I’ve put it in 10 steps as it just seemed a good way to sum it up…
1. Quick welcome and introduction in the Workshop Room
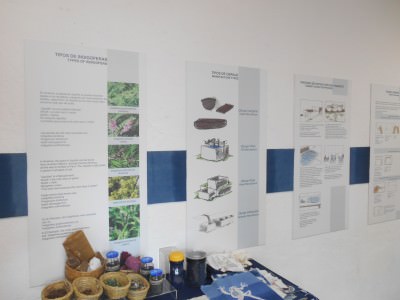
Liset shows me round the room, shows examples of her work and the information boards on the wall on the process.
2. The Indigo Plant
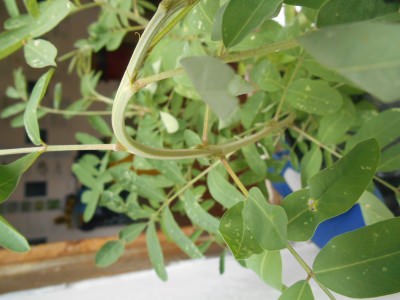
It’s not blue/purple, in fact the indigo plant just looks like any normal plant you see on your walk down the park. The garden is full of these plants. The leaves are…GREEN.
3. Harvesting and Fermenting
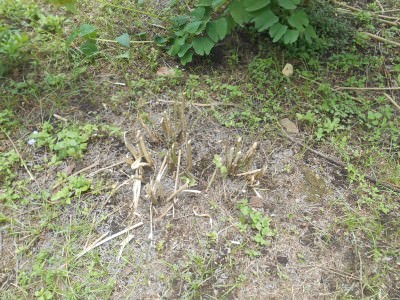
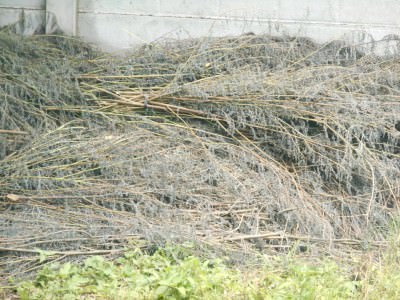
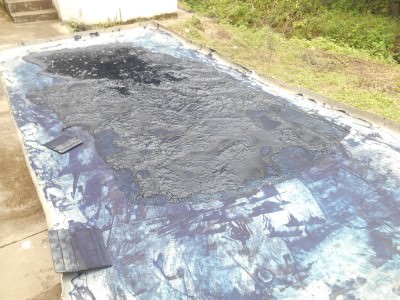
When the indigo plant is ready, they are harvested by cutting them off and fermenting the leaves in a process that involves water, drying in the sun and the leaves turning hard. Once they are hard they are ready. At least this is the gist of the demonstration that I understand (first time to see it and no expert).
4. Indigo Powder and Pieces
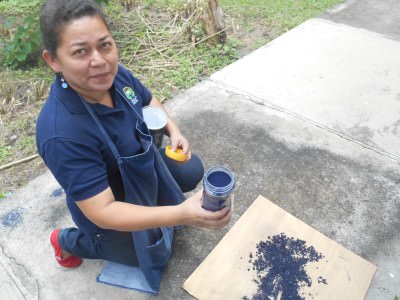
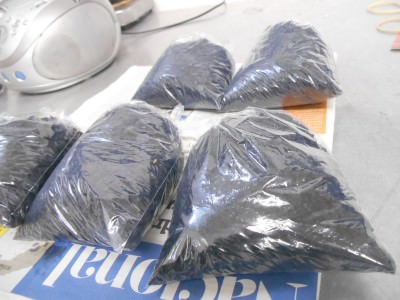
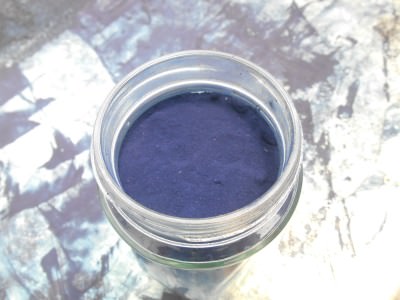
Liset then shows me the indigo powder and pieces. They are now blue/indigo. The green colour from the leaves has gone.
5. Barrels of Indigo Dye
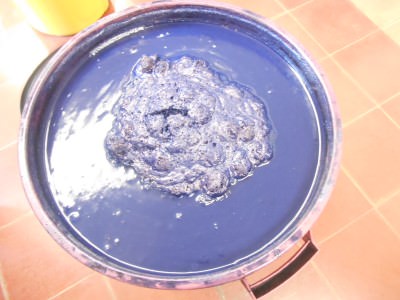
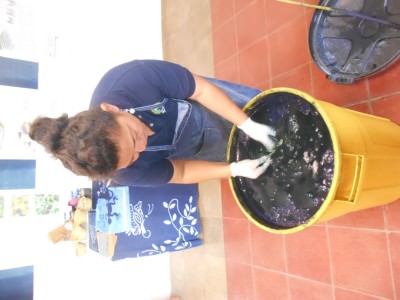
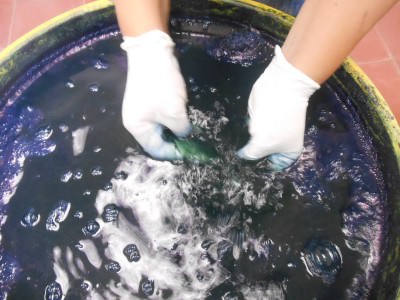
We go back inside to see the indigo dye, which is bluey purple and in big barrels. The colour is strong and rich and Liset pulls back the blue coating to reveal a green colour in the water, which is intriguing as we are only dyeing it in indigo colour, not green.
6. Examples of Colours and Shades
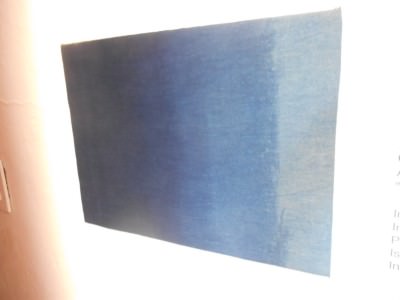
There are many different shades and colours formed by the indigo, starting with celeste the light blue, right up to the darkest blue. Or yeah purple, depending on what you think…The darkness or lightness depends on how long or how many times you dip the fabric in indigo.
7. The Fabrics
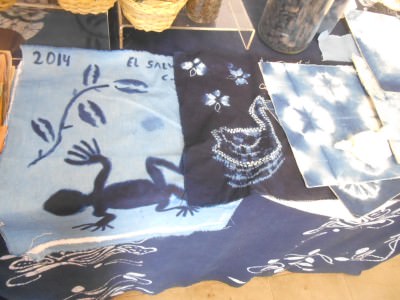
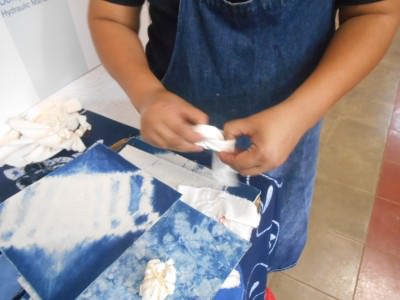
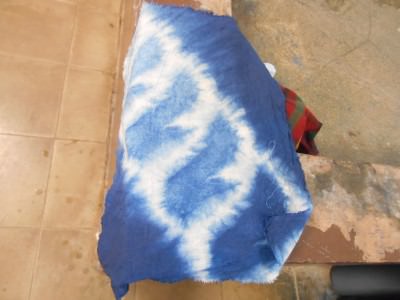
Liset shows me a few examples of fabrics. Basic white fabric with some knots or designs in them. The beauty of it is, once they are dipped in the indigo like that, they come out in all sorts of designs. Liset is an expert and can make extraordinary design on clothes and fabrics with indigo.
8. Preparation for Dipping
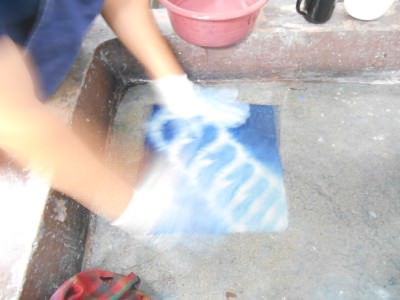
To prepare for the dipping, all that Liset does is takes the fabric, wets it in normal water and puts gloves on (so as not to dye her hands!).
9. Dipping
The material is then dipped in indigo for about one minute. It turns green and Liset lifts it out. Once out, the green becomes light blue very fast and there you have it! Liset dips it in again for one more minute to make it darker, and you can keep doing that to get it as dark as you want.
10. Drying and Finalising
Then Liset wrings out the material and puts it in a concrete sink. She pours water on it and the dye doesn’t run – it’s now permanent. She adds a drop of vinegar/acid as well as a touch of fabric conditioner, washes it out, lets it dry and HEY PRESTO!!
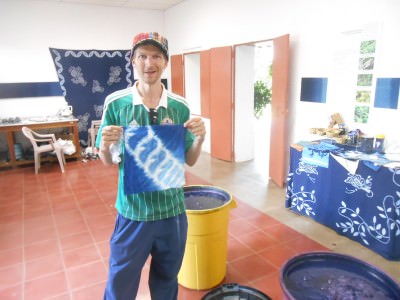
That was it. I then get presented with a lovely piece of indigo fabric which I will give to my Mum as it is. It’s yours to keep. It’s quite an amazing yet simple process and was great to see it in action. I really enjoyed it! I also bought Panny a piece of indigo material too. It makes a great authentic Salvadorian souvenir.
There is also a rumour that the reason the El Salvador flag has blue in it, is because they dyed the flag with indigo. This was a truly memorable experience and I urge you all to get out to El Salvador, and particularly off the wall towns like Chalchuapa (which you’ll hear more about).
Here are my videos from visiting the indigo workshop:


 Workshop and Demonstration at Casa Blanca, Chalchuapa, El Salvador


Great post! I visited an indigo workshop in Suchitoto last fall and was also so surprised that the dye causes items to look green until the end of the process.
Kat Richter recently posted…Coffee Filters vs. Tissue Paper, or Weddings: Why all the Fuss?
Hi Kat, thanks for the comment. Glad to hear of other travelers going to El Salvador – great country! Safe travels. Jonny
Of course, what a magnificent blog and revealing posts, I will bookmark your site.Best Regards!
Hi Lora, thanks for the comment, I am glad you liked it. Chalchuapa was a great city. Safe travels. Jonny
What i do not realize is in reality how you are now not really much more well-liked than you might be right now.
You are so intelligent. You know thus considerably in the case of this matter, produced
me individually consider it from so many varied angles.
Its like women and men don’t seem to be interested unless it is one
thing to do with Girl gaga! Your individual stuffs nice.
Always maintain it up!
Hi Leo Malcom, thanks for your comment. Yes, Chalchuapa was brilliant but your comment a bit spammy and off context! Enjoy your trip to El Salvador! Safe travels. Jonny